Integrations
The Integrations section is where you connect your bot to the outside world. This is where you link it to your AI Assistant "brain" and deploy it across various channels so your users can interact with it.
- Connecting Your Bot to the Gen AI Assistant
Before you can deploy your bot, you must connect it to the Generative AI Assistant you have configured. This step gives your bot its intelligence.
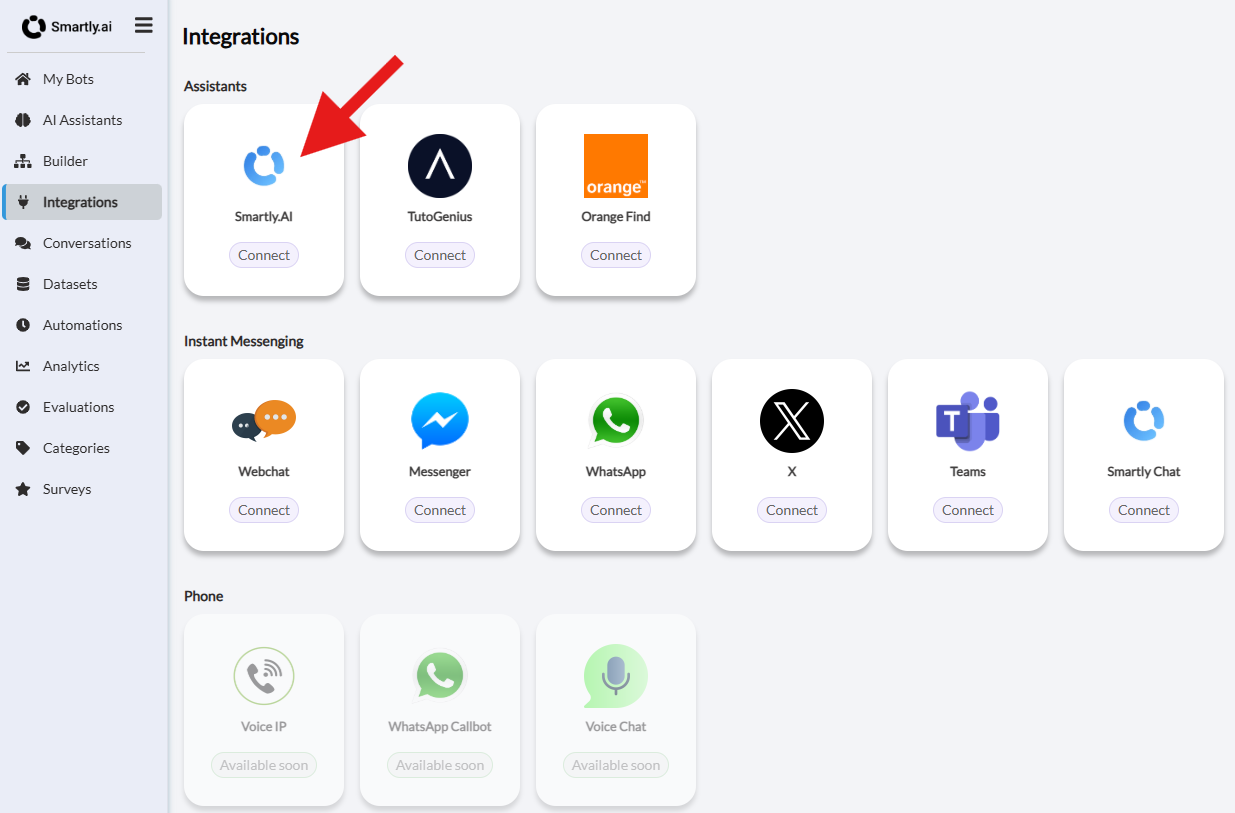
- From the main menu on the left, navigate to Integrations.
- In the top-right corner, use the search bar to find and select the specific bot you want to configure. This is a crucial step if you manage multiple bots.
- In the Assistants category, locate the Smartly.AI card and click Connect. A "Connected" status will confirm that your bot is now powered by your Gen AI Assistant.
- Deploying Your Assistant to a Channel
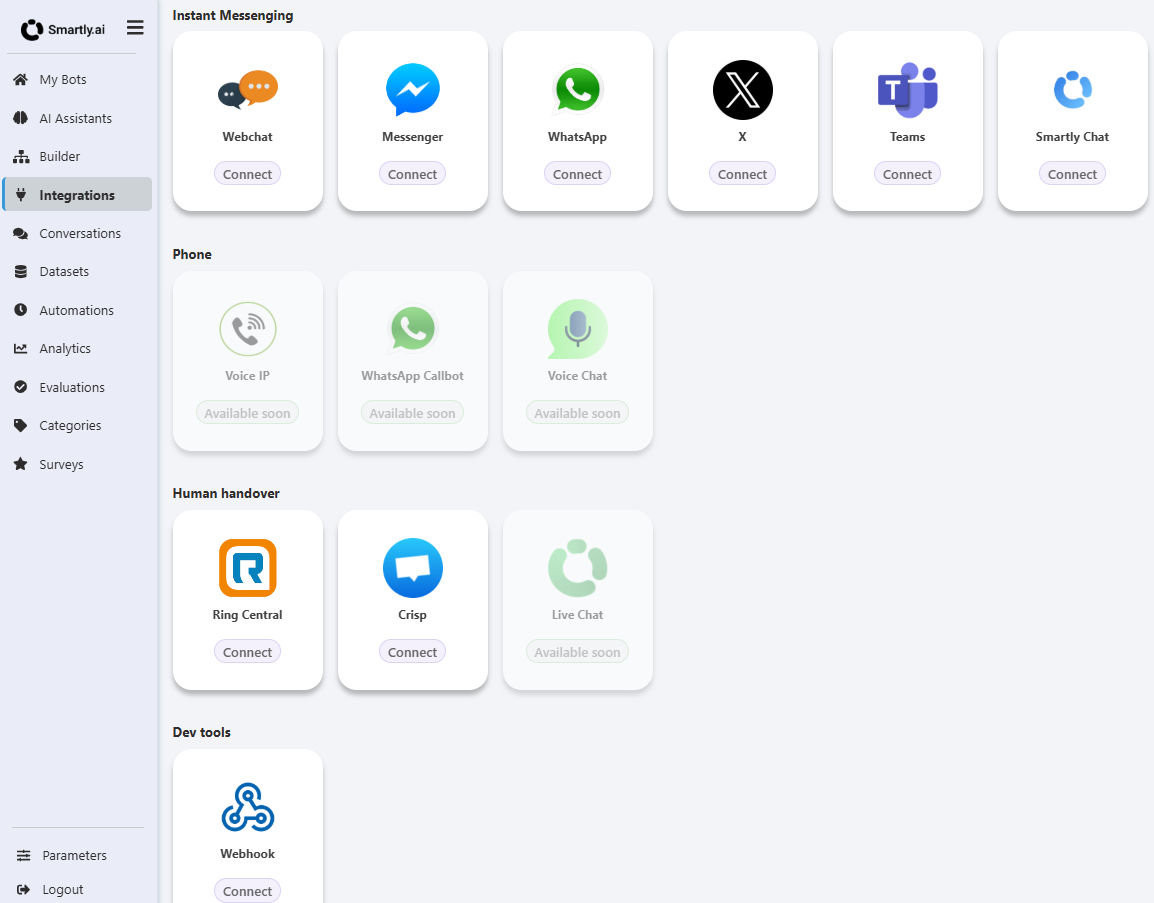
Once your bot is connected to the AI Assistant, you can make it available to your users on one or more channels. The platform supports a wide range of integrations, including:
- Instant Messaging: Webchat, Messenger, WhatsApp, X (Twitter), Teams, etc.
- Phone: Voice IP, WhatsApp Callbot, Voice Chat.
- Live Chat: Integrations with platforms like Crisp and Live Chat.
- Dev tools: Webhooks for custom integrations.
In-Depth Guide: The Webchat Integration
To configure the webchat, click on the Webchat card in the "Instant Messaging" category. This will open the configuration panel, organized into several tabs.
General Tab
This tab allows you to customize the main texts and dimensions of the chat window.
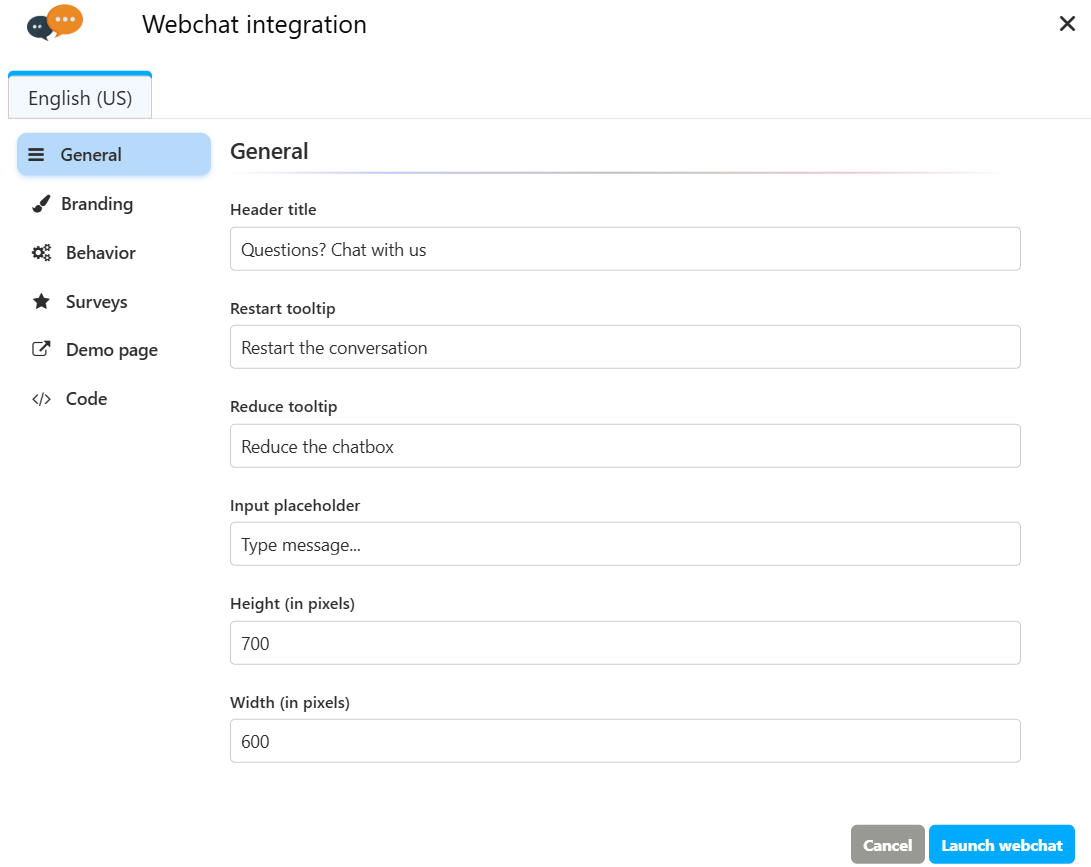
Header title: The text displayed at the top of the chat window (e.g., "Des questions? Demandez moi!").
Restart tooltip: The text that appears when a user hovers over the restart conversation button.
Reduce tooltip: The text for the button to minimize the chatbox.
Input placeholder: The default text inside the message input field (e.g., "Votre message ici...").
Height (in pixels): The height of the chat window.
Width (in pixels): The width of the chat window.
Branding Tab
This is where you customize the look and feel of the webchat to match your brand's identity.
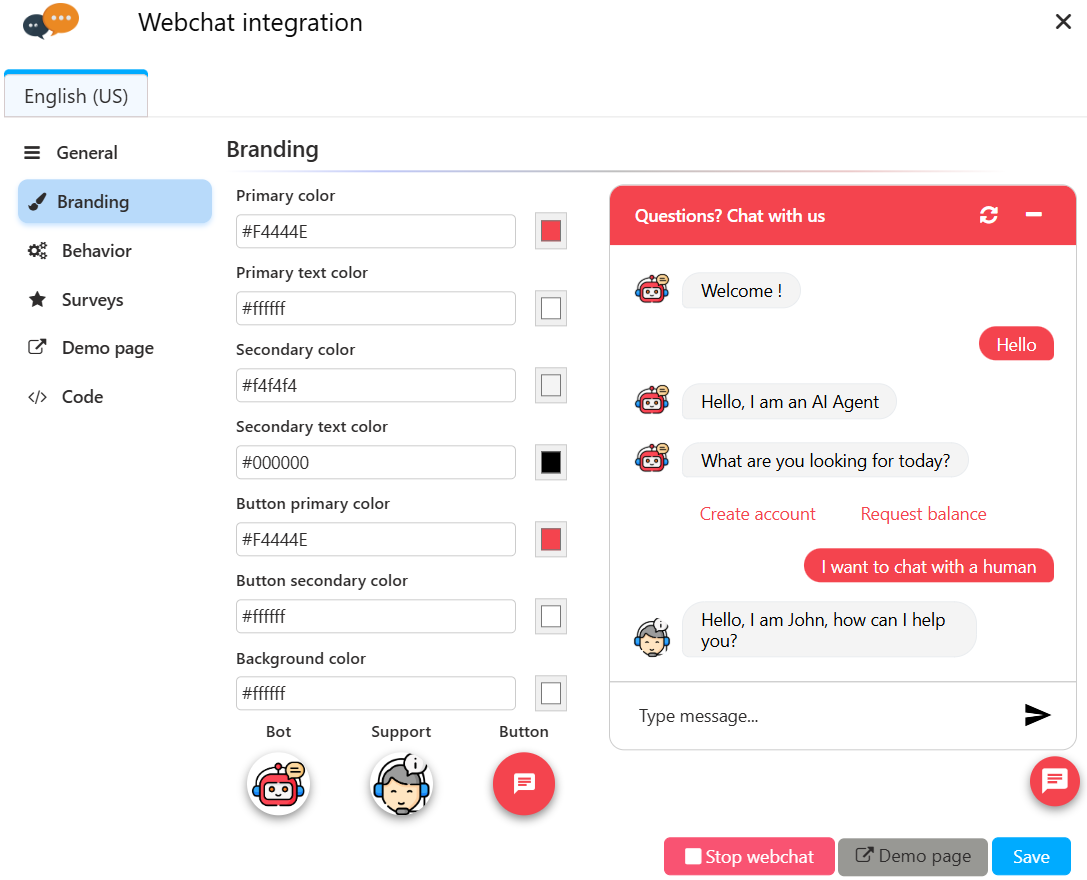
Colors: You can define the primary and secondary colors for the widget, texts, and buttons.
Avatars: Customize the icons for the Bot, the Support agent (for live chat handoff), and the main launch button.
Behavior Tab
Control how the webchat behaves when a user visits your website.

-
Open on load?: If enabled, the chat window will open automatically for new visitors.
-
Display a popup?: When enabled, this shows a small notification bubble to proactively engage visitors. You can customize its content:
Popup title: The main heading of the notification (e.g., "Hello!").
Popup description: A brief text to invite the user to chat (e.g., "I am here to help you!").
Popup button: The call-to-action text on the button (e.g., "Talk to bot").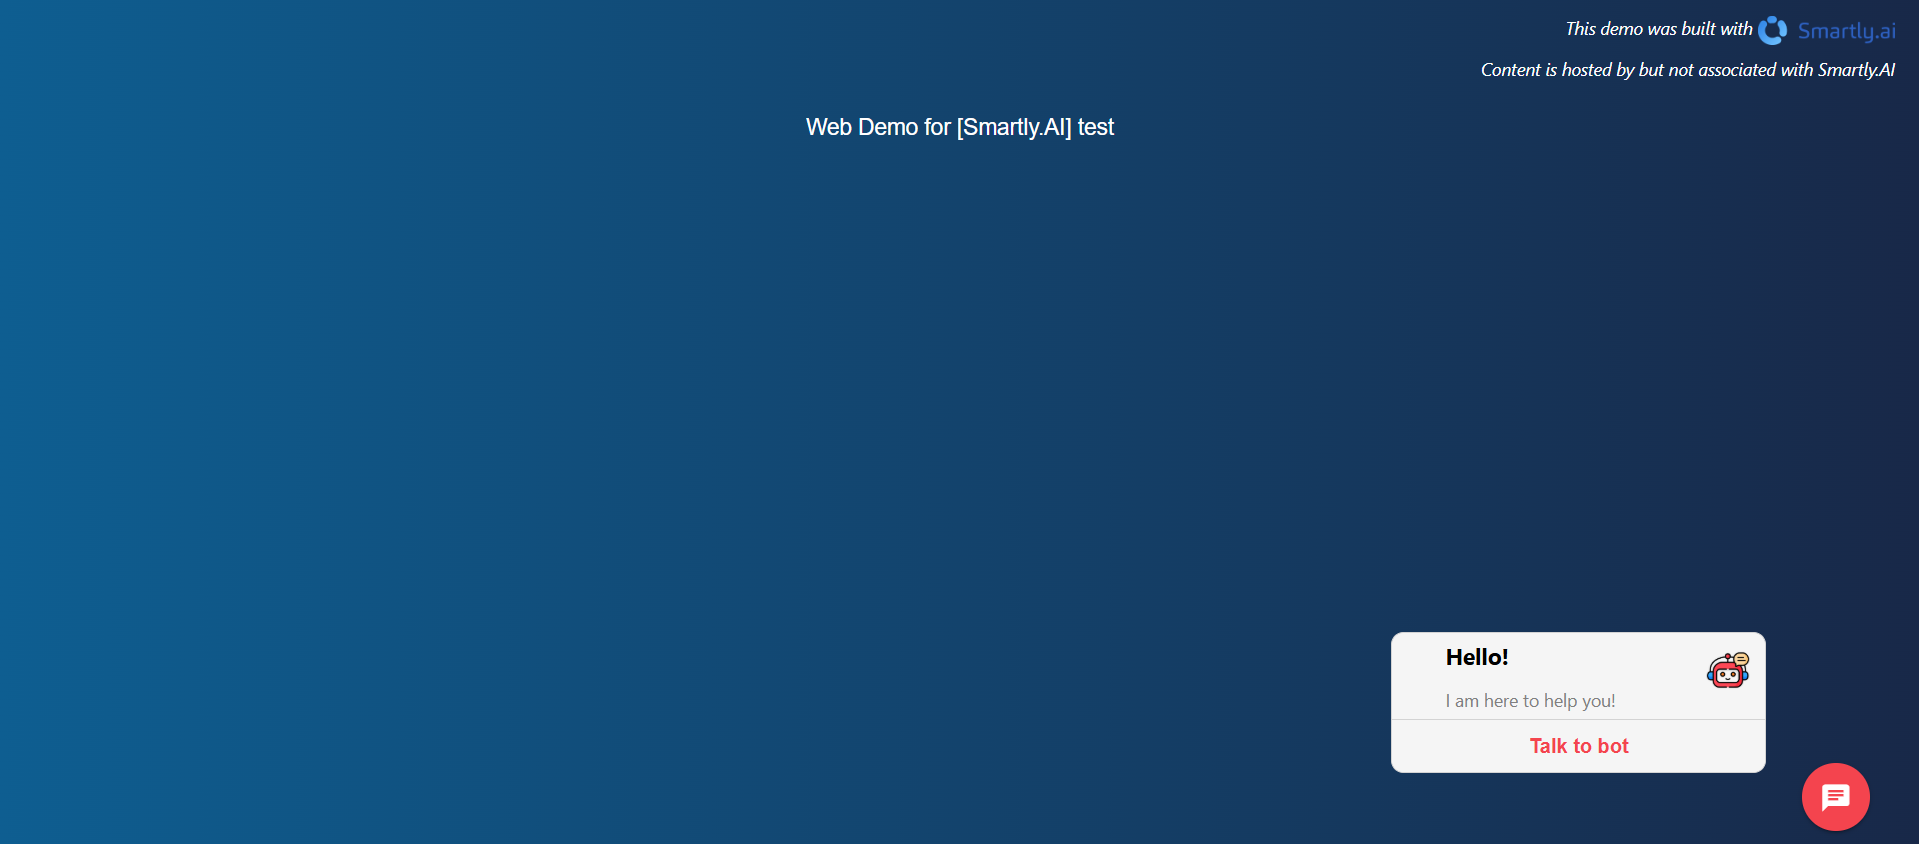
-
Display a start window?: If enabled, a welcome screen is displayed inside the chat window before the conversation begins. This is ideal for presenting your assistant and setting expectations.
Title: The main title of the welcome screen (e.g., "UNE QUESTION ?").
Description: A text to describe what the assistant can do.
Button: The text for the button to start the conversation (e.g., "Démarrer la conversation").
Legal notice & Legal notice link: You can add a link to your privacy policy or terms of service.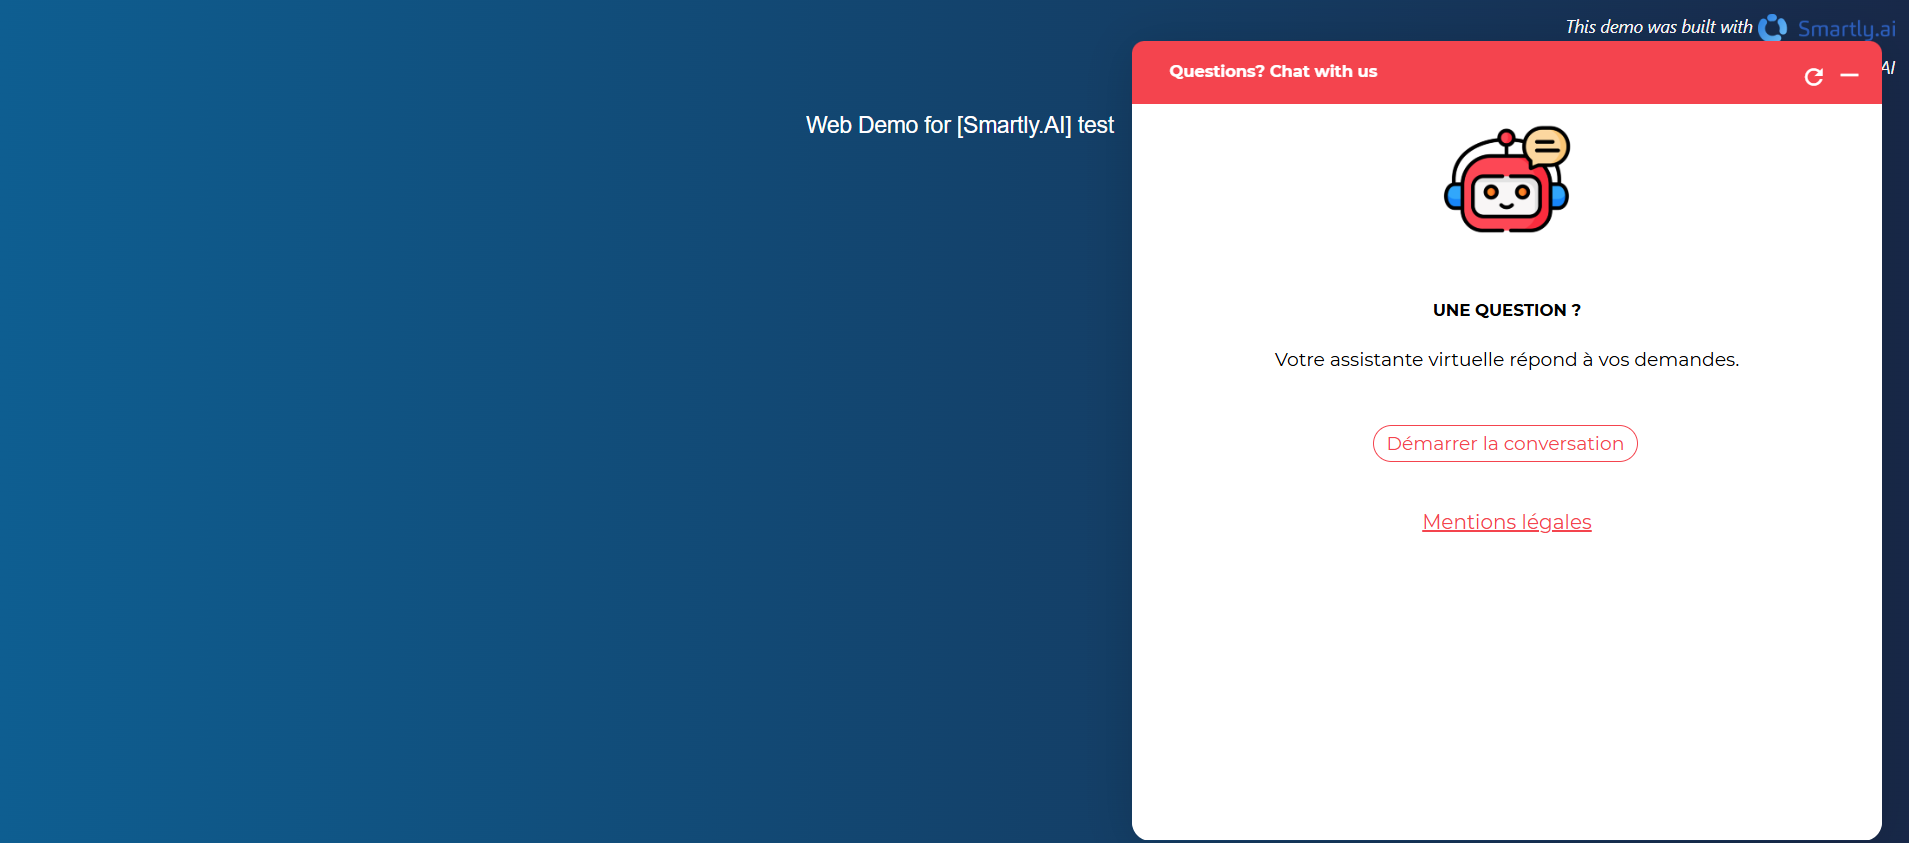
-
Display a closing confirmation window?: When enabled, this asks users for confirmation before they close the chat window, preventing accidental closures.
Message: The question to ask the user (e.g., "Do you really want to leave?").
Confirmation text button: The text for the button that confirms the action (e.g., "Yes").
Deny text button: The text for the button that cancels the action (e.g., "No"). -
Show history?: Allows returning users to see their previous conversation.
Disable the display of history after a certain time: You can set a time limit in hours after which the history will be cleared for the user. -
Show Footer?: If enabled, a customizable footer is added to the bottom of the chat window.
Text or HTML to show: You can add plain text or HTML content, perfect for company branding or important links. -
Max input length: Limits the number of characters a user can type in a single message.
-
Authorized Domains: A crucial security feature. Enable this and list the domains where your webchat is allowed to appear to prevent unauthorized use.
Surveys Tab
Gather valuable feedback from your users directly within the chat.
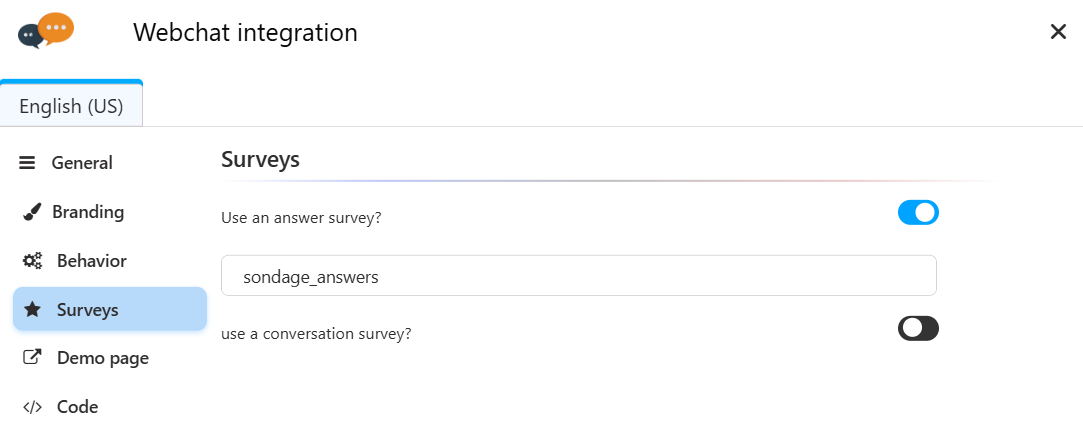
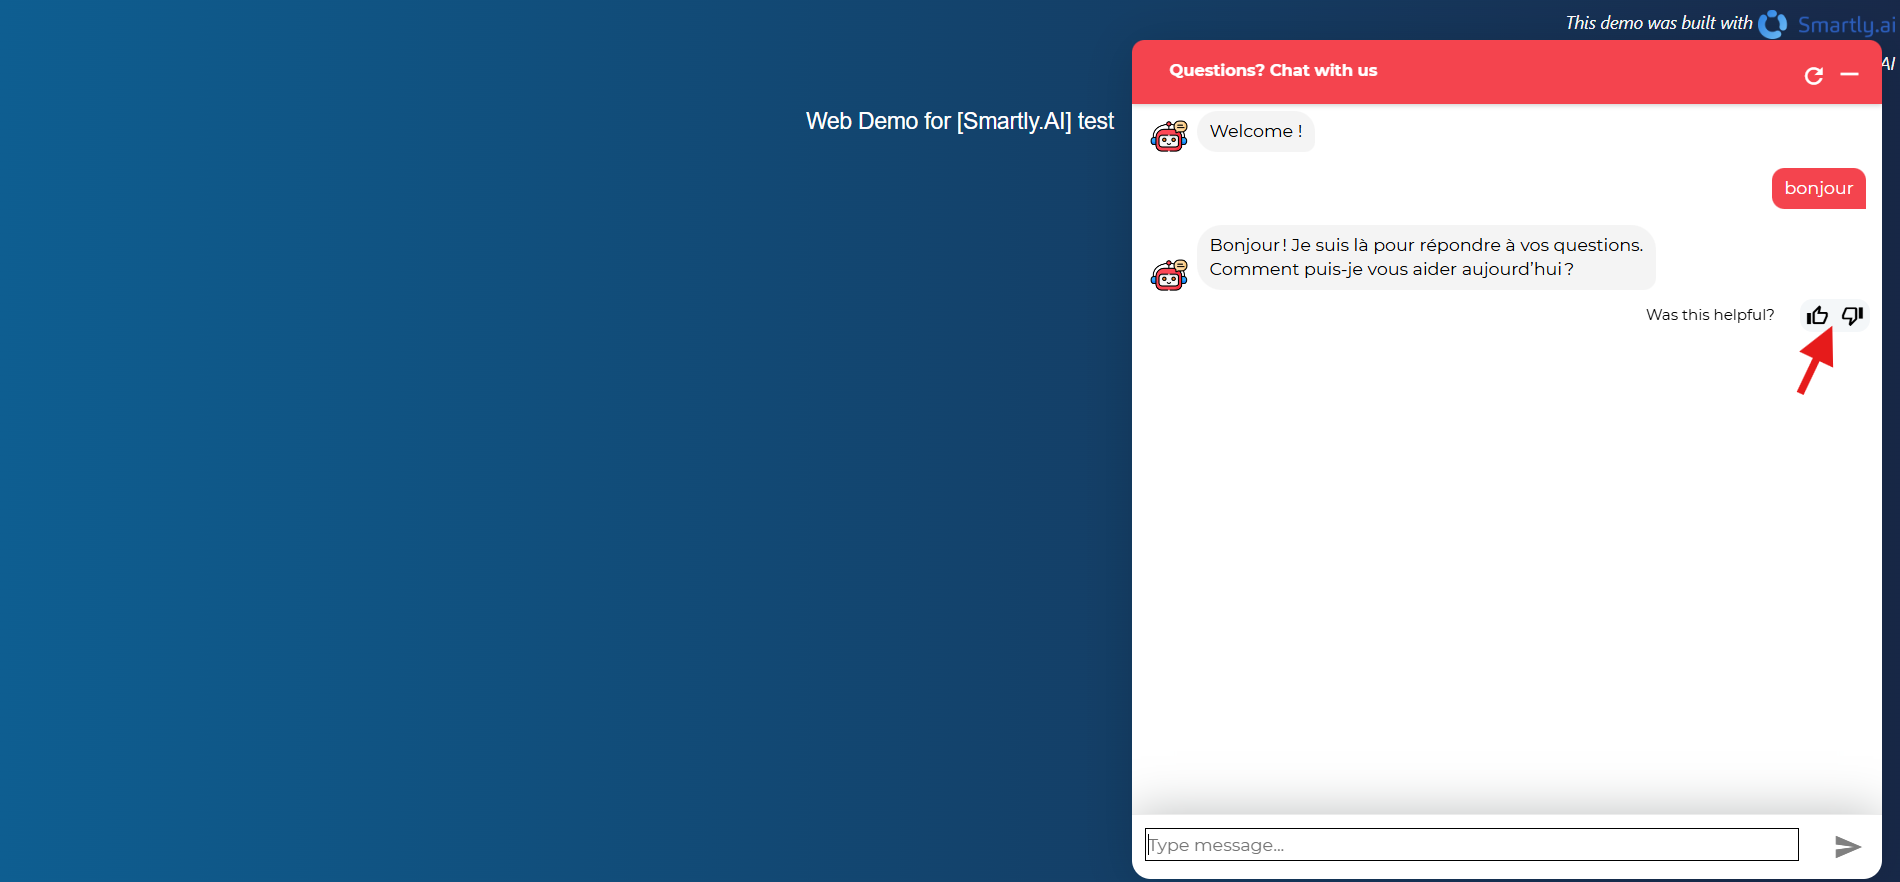
- Use an answer survey?: Asks users to rate the quality of specific answers (e.g., with a thumbs up/down).
- Use a conversation survey?: Asks for feedback on the overall quality of the conversation once it ends.
Demo Page Tab
Test your webchat's appearance and behavior before deploying it on your live website.
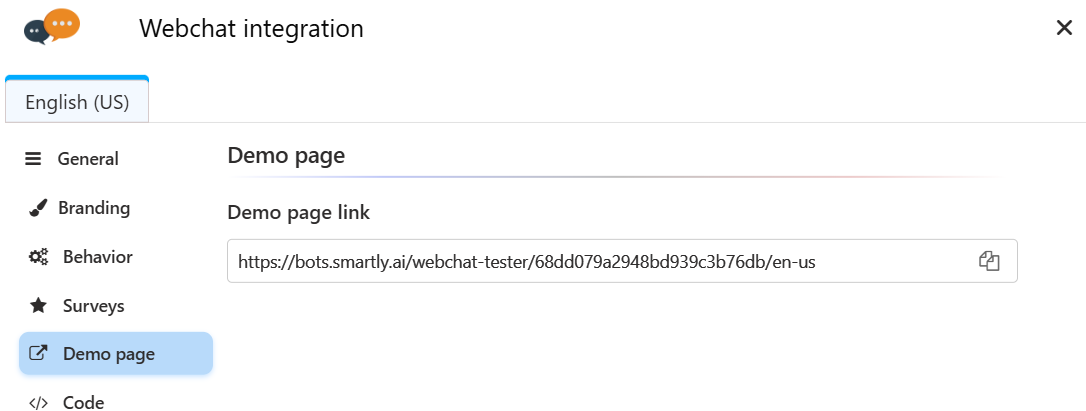
- Demo page link: A unique, shareable URL that hosts a test page with your configured webchat.
Code Tab
This final tab provides everything you need to deploy the webchat on your website.
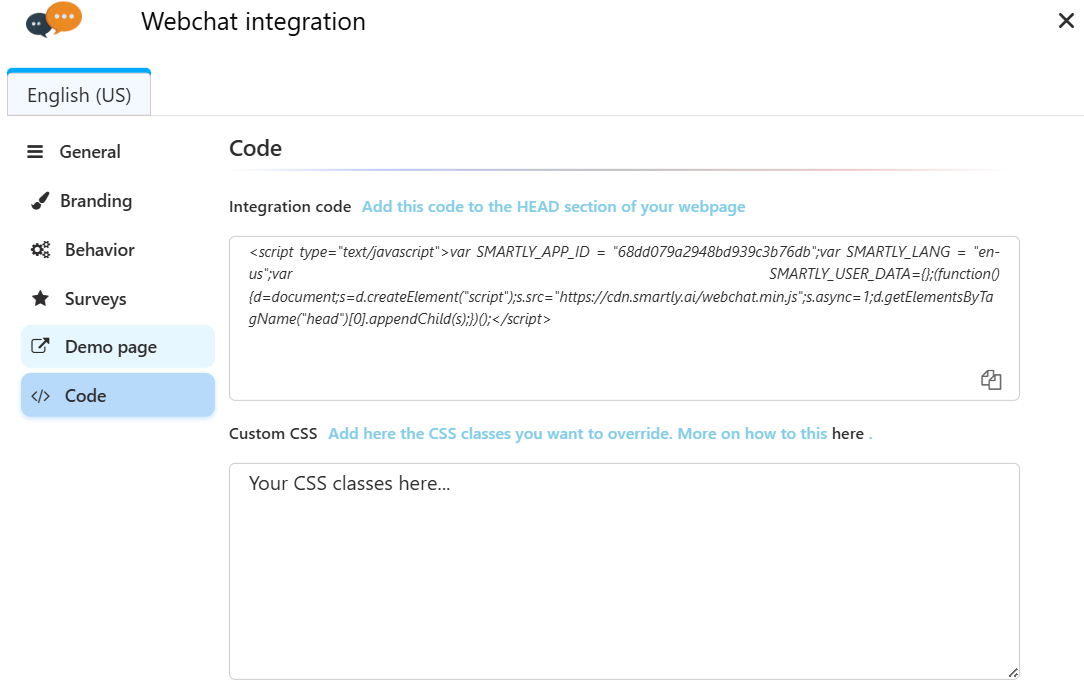
- Integration code: This is the JavaScript snippet you need to install. Copy this code and paste it into the
<HEAD>section of your website's HTML. - Custom CSS: For advanced users, this field allows you to add your own CSS rules to override the default styles and achieve a fully custom design.
Updated 10 months ago